
 Cleaning tools have one of the dirtiest jobs around. It’s no wonder that they often accumulate bacteria and odors that make cleaning your space difficult. Your cleaning tools and supplies work hard for you, making sure that every surface, nook, and cranny in your facility is sparking clean and ready to be used. But eventually, the tools you use to make sure your facility is clean need to be cleaned themselves. If you have a janitor’s closet full of supplies, you most likely have a few items that need a little sprucing up before they can effectively clean other spaces. In today’s article, we’ll discuss how to clean your cleaning supplies so that they can continue to work effectively for you.
Sponges and Rags
These are some of the dirtiest supplies in your closet because we rely on them so often. But the good news is that they are easy to clean. To do so, use one of the oldest sanitation methods there is: heat. To clean a sponge, first thoroughly remove any excess chemicals from cleaning before. Then, get the sponge completely wet and put it in the microwave. It’s vitally important that your sponge is completely wet: otherwise you could create a fire hazard. Put the sponge in the microwave for 2 minutes. Be careful removing it, because it will be hot!
IMPORTANT: Before putting your sponge in the microwave, make SURE there are no metallic parts. This is a fire hazard!
To clean a rag, you’ll likewise thoroughly rinse any excess chemical or cleaner before adding it to the wash. Wash with like items on high heat to remove any bacteria.
Cleaning Brushes, Toilet Bowl Brushes, etc.
Your brushes get used a lot, so it’s no surprise that they occasionally need a little cleaning themselves. To begin, grab a pair of sturdy cleaning gloves such as neoprene gloves. Go through your brush carefully and pick out any hairballs, debris, dirt, or other gunk that might be stuck to your brush’s bristles.
Next, fill a sink, bathtub, or bucket with warm water and some Oxy Care. Oxy Care will break the bonds between the dirt/bacteria and the bristles, and it will also sterilize and deodorize your brush. Alternatively, you can use hot water and chlorine bleach.
When you’re done, empty your bathtub and bucket and rinse the products with clean, warm water. If the objects are particularly soiled, run them through the bleach or Oxy Care one more time, followed by another rinse. Even if your tools seem like they are clean, it might be worth it to go through the second cleaning just to ensure that your cleaning products are doing the best possible job they can.
Finally, let the brushes dry before they are used again.
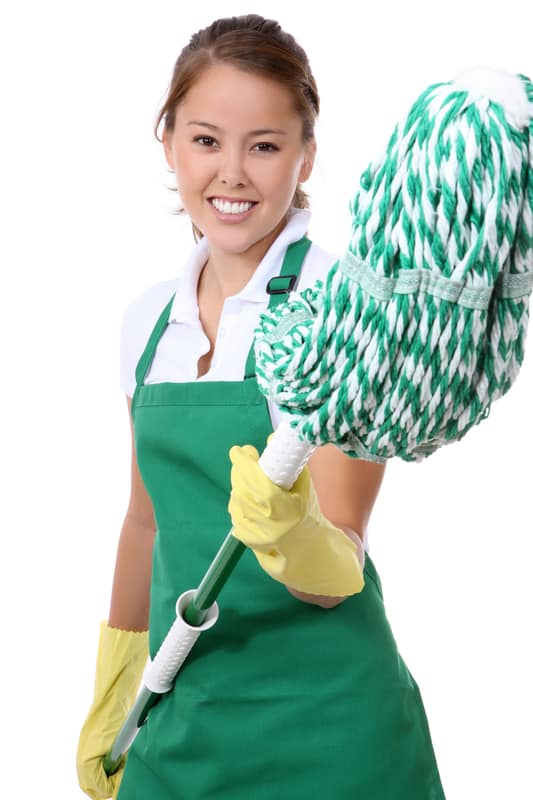
Mops
To clean your mop, mix 3 gallons of hot water with 1 cup of chlorine bleach. Bathe your mop in the solution and let it soak for at least 15 minutes. When it’s finished, rinse it with clean, hot water. Don’t forget to let the mop dry before it’s used so that you don’t allow the growth of more bacteria.
Microfiber Cloths
Microfiber cloths need to be washed in the laundry to be cleaned and sanitized, but it’s important that they are washed with no fabric softener or dryer sheets. These cloths are designed to pick up any electrostatic charge, and dryer sheets and fabric softener will make them less effective at cleaning. You can also air dry them.
Brooms
It’s easy to neglect cleaning your brooms because they are used mostly to pick up dirt and debris rather than to clean surfaces with a cleaning chemical. But brooms need to be cleaned just like your other cleaning tools. Fortunately, cleaning them is easy.
Simply remove the broom head from the handle and place it in with your brushes to be cleaned either with chlorine bleach or Oxy Care. Make sure to let them dry completely before use, or you could risk damaging your floors. At the very least, you’ll have annoying wet streaks when you are trying to sweep!
IMPORTANT: Corn brooms are not meant to get wet. It’s best to remove the debris from their bristles and avoid cleaning them in chemicals or even water.
Tips for Effective Tool Cleaning
- Clean your cleaning tools on rotation so that you always have tools available at the ready while others are being cleaned or are drying. Even if you don’t have it scheduled in your janitorial schedule to clean using that tool on that designated day, accidents happen and you may end up needing it anyway.
- Set a written schedule for cleaning your tools and designate staff to do so on a rotation. This way, you always know how many days it has been since tools were cleaned, and you always know whose responsibility it is to clean them this time around.
- Create a written system of processes for cleaning tools and post it visibly in your janitors closet, break room, or somewhere else where it can be easily accessed. This will ensure that each item is cleaned the right way and with the proper cleaning agent.
Those cleaning supplies that do us so much good throughout the year need to be cleaned too! Without their proper cleaning, your facility cannot be as clean as it can be. But by cleaning your tools, you can have clean spaces in your facility as well.
Sources:
http://www.apartmenttherapy.com/weekend-assignment-how-to-clean-your-cleaning-tools-117837
http://cleanmyspace.com/how-to-clean-your-cleaning-tools/
https://brightnest.com/todos/clean-your-cleaning-supplies